Everything You Need To Know About Microblading
There’s no denying it, our eyebrows can be rather annoying and time-consuming things to shape and manage on a regular basis. However, whether you’re a man or a woman, younger or older, your eyebrows are an important part of your overall appearance.
Related Topics (Sponsored Ads):
And that’s where the microblading process comes into play. Microblading is a beauty treatment that has taken over social media by storm, which many would even consider revolutionary. The microblading process saves you countless hours in front of the mirror regarding the fixing, filling and reshaping of your eyebrows. It’s semi-permanent, meaning it lasts for about 12-18 months before you need to get a top up, depending on your skin tone. Essentially, it saves you an incredible amount of aggravation in your day-to-day life and makeup routine.
How Does Eyebrow Microblading Actually Work?
Microblading is a relatively safe, 6-step process with many do’s and don’ts before and after. It may seem a bit arduous and complicated, but if it’s done with a sterilized microblade and tip top professionalism, and you follow the instructions of your makeup artist properly, your eyebrows will be stunning, perfectly symmetrical and even. Plus, they will also suit your own individual facial features.
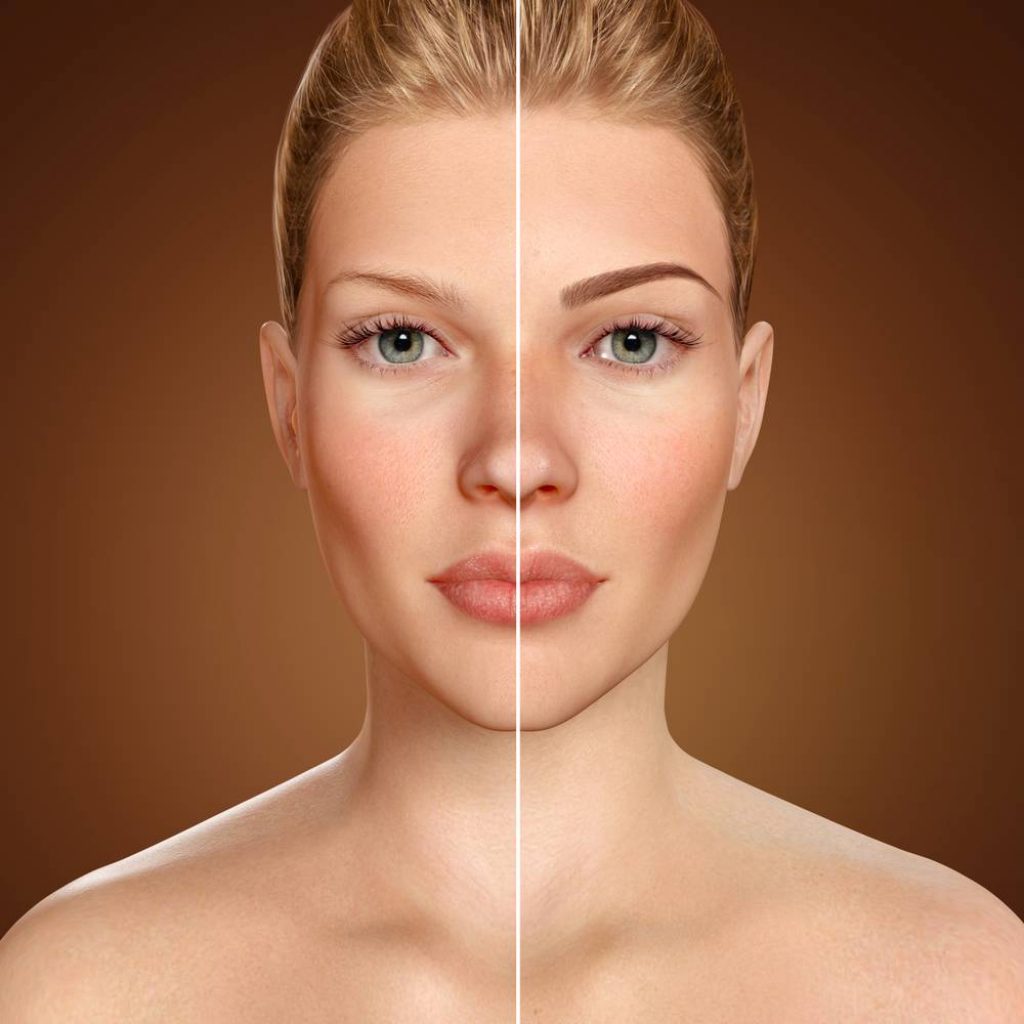
Microblading is a type of eyebrow architecture. As mentioned above, it is all about creating the best shape for each face – a total boon for each client.
The process is very precise thanks to the tool that is used, which looks very much like a pen with the nib being a sloped blade, with 10-12 little needles at the end. These needles don’t penetrate the skin, but just delicately scratch the surface, much like a paper cut.
So, this is how it’s done:
1. The makeup artist shapes the brow area by threading the hairs, cleaning up the area and preparing it for the treatment.
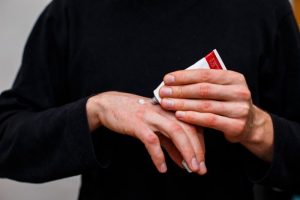
2. A special, super affective topical numbing ointment is applied on each eyebrow carefully and evenly. This numbing process takes about 40 minutes, which is most of the total treatment time.
During this numbing phase of the treatment, your makeup professional will show you color swathes and discuss the best shade for your desired look.
3. 10 minutes before the numbing cream should be removed, expert tools are used to make measurements of the area around the brows, considering face shape, symmetry, facial features, etc.
4. Then, the needle very finely implants featherweight strokes with a medical grade pigment on the epidermis layer of the skin, creating fine, realistic and natural hair strokes.
5. Afterwards, a final layer of pigment is added on that stays for 5mins. The area is gently cleaned, and voila – beautiful brows!
6. About 6-8 weeks afterwards, there’s a top-up session to check and see if there are any gaps that need to be filled where the pigment hasn’t taken hold or healed properly.
The cost of the procedure widely varies, depending on what area you live in. For instance, in New York City, the average cost is $800, but in Chicago IL, it’s only $640.
Listed below are some more important things to know regarding the microblade treatment, including the do’s and don’ts of the before and after phases.
Before Treatment- Allergic Reaction Test
Prior to your treatment, make sure your microblade expert conducts a safety test, using a patch or scratch technique, to ascertain that you’re not allergic to any of the ingredients in the numbing ointment. Although allergic reactions are rare, it’s a most vital precaution. If you are indeed allergic to anything in the ointment, the entire microblading procedure cannot be done.
Before Treatment- What To Avoid
The following will negatively impact the treatment and its effectiveness, so try to avoid them:
1. Do not pick, tweeze, wax or have electrolysis one week prior.
2. Do not use sunbeds or sit in direct sunlight two weeks before.
3. Do not have any type of facial two weeks prior.
4. Stop using any retinol or Vitamin A products one month prior.
5. No exercising on the day of treatment.
6. Do not have botox three weeks before.
7. Do not take fish oil or Vitamin E one week prior. (These are natural blood thinners.)
Post Treatment- During The First Week Of The Healing Process
1. Gently wash your eyebrows every morning and night with water and an antibacterial soap, such as Cetaphil. Ensure all soap is rinsed away and dry by gently patting your brows with a tissue. No need to worry, this will not remove the pigment.
2. Do not use any cleansers containing acids or exfoliants.
3. Apply a very small amount of coconut or rosehip oil to each brow morning and night.
Post Treatment- Strongly Recommended Tips
Change your pillowcase regularly.
~Avoid picking your brows.
~No facials, botox, or peels for 4 weeks.
~Avoid exercise for 1 week.
~Avoid direct sun for 1 week.
~Avoid long, steamy showers for 10 days.
~Avoid swimming for 10 days
~Don’t wear any make-up or use skincare on your brows until they’ve healed.
Again, this may all seem daunting to follow, but if you feel confident that you can go through with it, it’s only a matter of several days and very well worth the effort. After it’s all done, you’ll be very happy with the results.
Final Thoughts
The Microblade eyebrow beauty treatment is not for everyone. If you get freaked out by needles or any object going near your eyes that is not being controlled by your own hand, then this treatment is not suitable for you. In this case, a much better alternative will be to learn how to pluck, shape and manage your eyebrow beauty on your own in a practical and time efficient way.